It's pretty clear due to my other posts that I am terrible for remembering to take photos of my work. I always get halfway through what I'm doing and then have to try and backtrack and take a load of photos to make up for what I've missed out. And that's exactly what happened the other day when starting my Halloween costume.
Anyway;
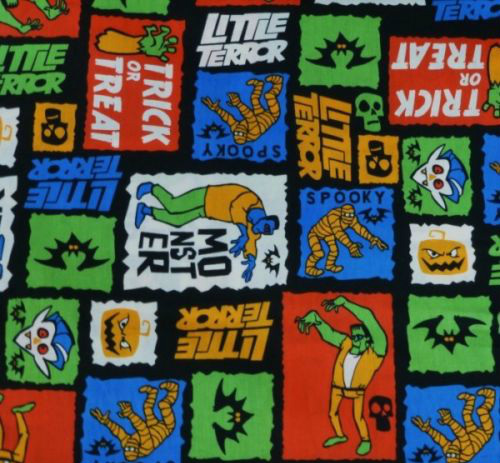
I went to a local haberdashery and fabric store to pick up some supplies to get me started!
I picked out a cheap satin material, much like the type you'd see clowns wearing, which was my theme!
I chose a yellow for the top and skirt, purple and green and white for the ruff and whatever else
I decide to make to add to the look.
I found some little orange pompoms for 15p each!
And I picked up some red trimming to go along the bottom of the skirt and 2 zips.
I was kind of just making it up as I was going along and figured that if I decided I needed anything else I could always pop back for more supplies as Halloween is another 2 months away so there's no hurry!
It's just a little experimental project for now! :)
Anyway;
I went to a local haberdashery and fabric store to pick up some supplies to get me started!
I picked out a cheap satin material, much like the type you'd see clowns wearing, which was my theme!
I chose a yellow for the top and skirt, purple and green and white for the ruff and whatever else
I decide to make to add to the look.
I found some little orange pompoms for 15p each!
And I picked up some red trimming to go along the bottom of the skirt and 2 zips.
I was kind of just making it up as I was going along and figured that if I decided I needed anything else I could always pop back for more supplies as Halloween is another 2 months away so there's no hurry!
It's just a little experimental project for now! :)

Considering I didn't take any particularly good photos I'll just try to explain what I did!
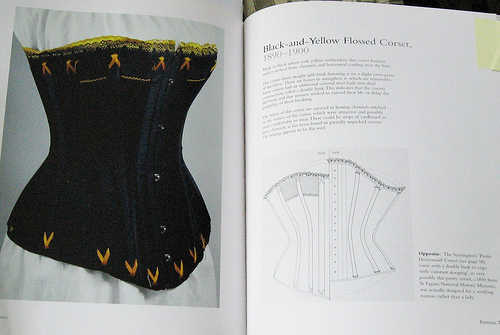
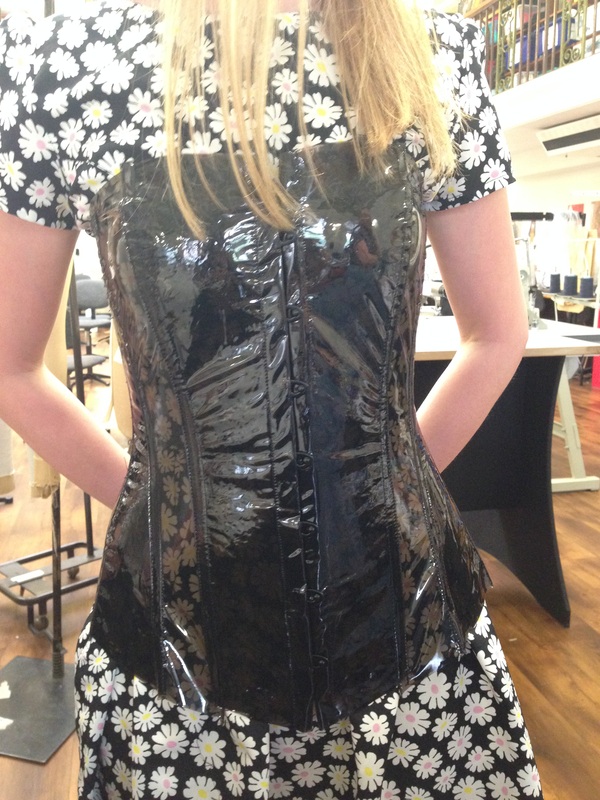
I used the corset pattern I made a while back at university and have talked about in previous posts and just added an extra large seam allowance around all 4 edges of all of the pattern pieces. This left me room for any mistakes and adjustments and made it longer in length so it covered my top half a little bit more.
I sewed it all together on my machine and took it in wherever needed so it fit tightly to my body.

Since I don't own an over-locker yet I just made sure not to cut the seams down too far, trimmed away any snaggle threads from the fraying fabric and ironed the seams flat. I figured if I'm just careful then the seams won't fray much and I might be able to use an over-locker after hours when I get back to university, until I get my own!

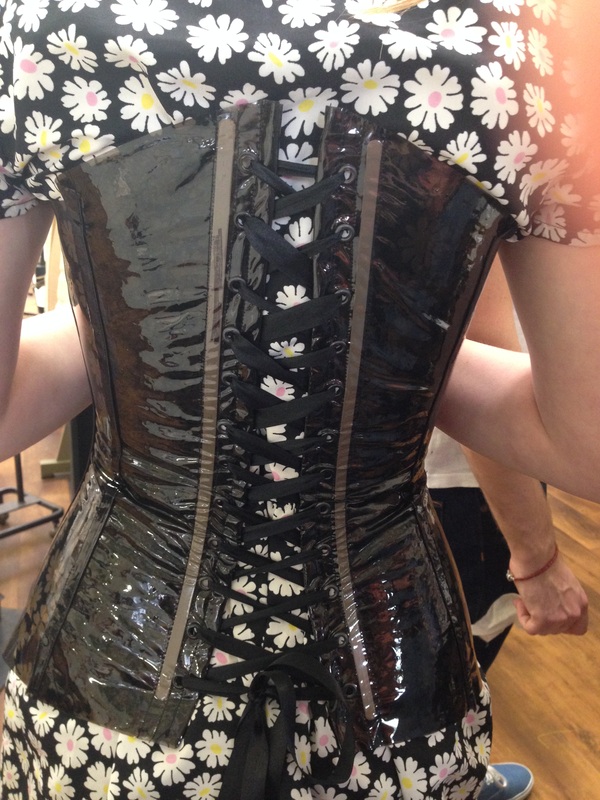
Next I put the zip into the top. I always struggle a little with sewing zips in but I think this one went better than usual.
I folded and ironed the seam allowance on the back, and pinned one length of the open-ended zip along the fold.
I then lined up the other side and pined the other length of the zip on the other side/fold.
I zipped it together to make sure the back lined up accurately with the zip pinned in place.
I then took my time and slowly sewed each side of the zip in place.
The bit which I seem to struggle with the most is the very top and bottom of zips.
I just made sure to take my time and carefully go with the flow.

The skirt was pretty straight forward to do (although I'm not quite finished it yet as I'm not at home at the moment)
All I really needed was the length of how long I wanted the skirt, the size of my waist and how much gather I wanted.
I made the skirt a little extra long so I could take the length up just in case I made it too short like I have before.
I cut out a long strip of fabric (length x width including room for gather)
I ran two long length lines of stitches along the top of the skirt and began to slowly gather it to the size of my waist.
I tied off the ends and decided to make a waistband to hide the rough gathering.
I cut out a waistband 4 inches in height (as it needs to be folded over making it 2 inches), and my waist size, plus seam allowance.
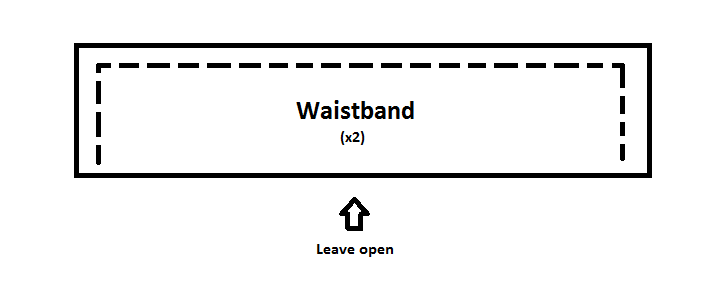
I sewed the two smaller ends up, one of the longer lengths, and then left the other long length open.
I folded it back on itself and pressed it flat, also folding the seam allowance under and pressing it.
I folded it back on itself and pressed it flat, also folding the seam allowance under and pressing it.

Once the waistband was folded the correct way around, I pinned the gathered edge of the skirt inside the waistband to one of the folded edges. I sewed the gathering down as a top stitch along the waistband.

Next I did the same thing on the other side, pinning the other folded edge of the waistband down so it joined up and matched the other side.
This is as far as I've gotten so far as I've realised I might need a slightly longer waistband (perhaps 2-3 cm), just to make some extra room for when wearing. I think I might have misjudged slightly when measuring and cutting it out originally. If I was to keep the existing waistband ans sew the zip in it might be a little bit snug when I wear it, especially on a Halloween night out and it might nip a little bit too much for me to comfortably drink and dance in it. I will pin myself into it and try it when I'm next home.
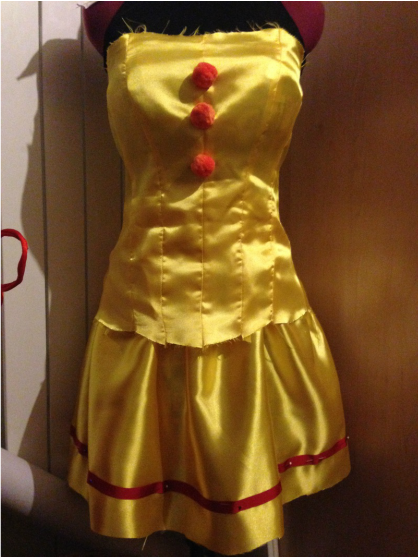
I pinned the pompoms onto the front of the top and pinned the trimming around the bottom of the skirt, just to make it look like it was coming along a bit more!
I will be continuing with the costume next week when I'm home and reunited with my project!
Stay tuned for more :)
I pinned the pompoms onto the front of the top and pinned the trimming around the bottom of the skirt, just to make it look like it was coming along a bit more!
I will be continuing with the costume next week when I'm home and reunited with my project!
Stay tuned for more :)


 RSS Feed
